Thursday, March 28, 2019

Leatherwork and the Brain

"I am not artistic - I have to trace everything I do."
Even among leatherworkers we hear this myth too often.  Unnecessarily.
You can "become" artistic - you can make yourself artistic.

First let us look at how we can use more of our brain.
Our whole 20/21st century education and lifestyle teaches us to only use the left side of our brains - the side that reads, writes, does arithmetic, analyzes & deduces, keeps track of time and works with symbols for every concept.

We do leather with our right brains - the side that works with music, color, shapes, pictures and the scene around us.   It shows us the whole forest and does not count how many leaves there are.

In most of us the left brain dominates very strongly, and that makes us feel less artistic.  I used to ask a class of 120 computer programming students each to draw and eye and then hold it up.   It always seem to be a variation of this:

I have yet to see a human with an eye like that (or any other creature).  But for most of us, that is the symbol the left brain has for an eye and it will overrule the left brain and say "Hey!  Draw this!".

As craftsmen and women, I know you have all experienced the opposite:  when your left brain goes for a rest and your right brain drives things.  This happens when you get so engrossed with the shapes you are carving or the colors you want to apply, that the rest of the world fades away and you loose track of time.  It almost feels as if you are in a trance.   It also irritates you when somebody disturbs you.

This is a perfectly normal creative and artistic mode to be in.  All we need is to learn to switch this mode on more easily.   For this I want to refer you to an excellent book on the subject by Betty Edwards - Drawing on the Right Side of the Brain.
[Do yourself a favor and go and have a look at the website where you will see about her books and online courses:  http://www.drawright.com/  I promise you will be amazed!]
In this book she teaches ANYONE to draw and sketch"like an artist".

To enable us to make use of this mode of thinking, another myth must be dispelled:
NO artist takes a clean sheet of paper  and promptly draws a beautiful picture from his imagination.
If you do see this, the artist is drawing something they have drawn many times before, so they are using a recipe.

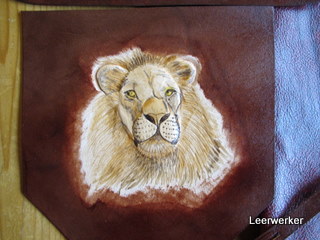
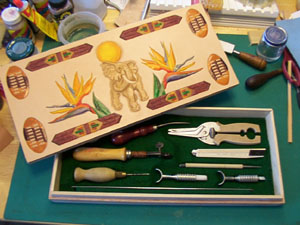
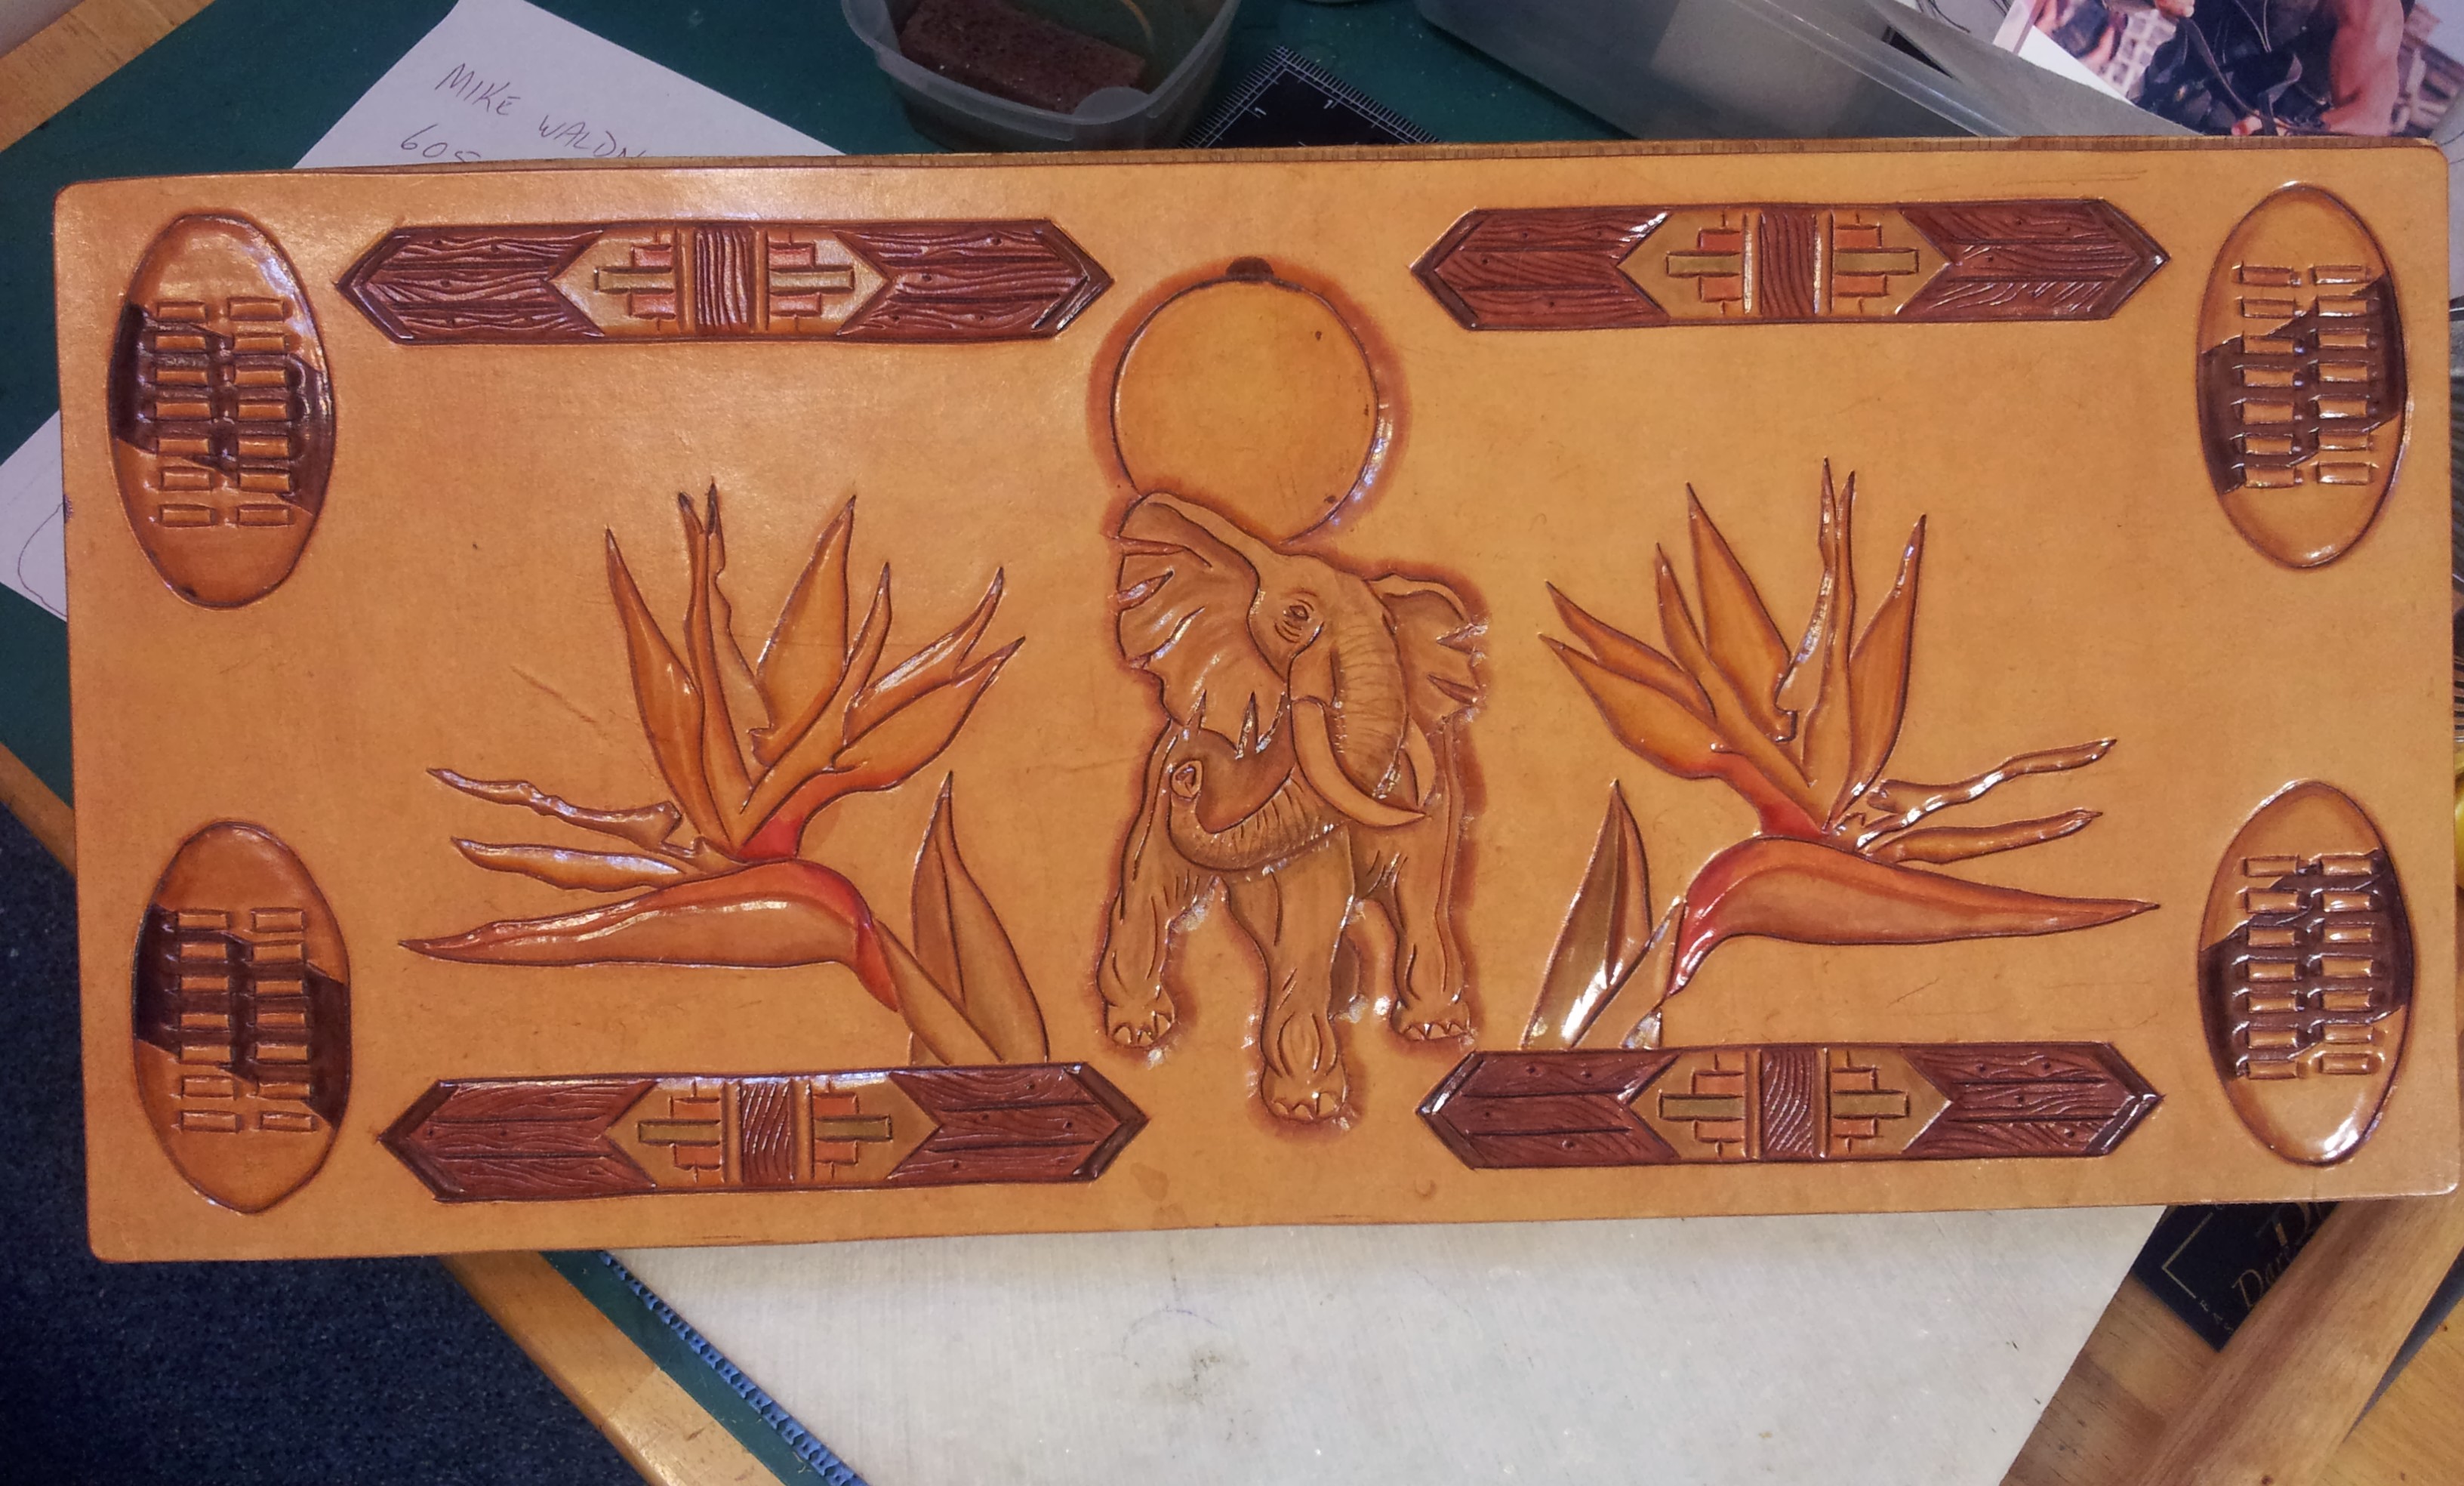
Instead, let us see how Tim, an imaginary artist, goes about drawing a new design of leaves for tooling on a leather picture frame.
Tim first finds a few real leaves in the garden and / or goes through his file of reference material he had accumulated over some years.  then he looks in the folder on his computer called "Leather Design Inspiration" to see if he has any images with leaves there.

Tim then makes a few preliminary sketches of the leaves from the garden.  He takes note of the direction of the veining, and their general shapes.   Time then draws two parallel lines for the frame, draws a flowing curving line between them and sketches the leaf shapes into those lines, trying to follow the flowing line with the directional lines on the leaves.  Finally Tim transfers the successful design elements onto a clean sheet as a usable design.

All of this time Tim is in right brain mode, not even aware that the boss has called him a few times for dinner.....

Coming up with a nice design is like photography - it takes a lot of practice, a lot of patience, and a few attempts, before you have that perfect masterpiece.

Another way to help our brains, is by regular rest / giving your brain a break.  Your eyes are directly linked to your brain - some physiologist have even suggested that your eyes are part of your brain.  So by giving your eyes regular breaks, you are directly benefiting your brain too.

The surest way to do this is to look up and out a window - as far as you can possibly see.  As yet unexplained, this works even better if you can look at trees or any natural green landscape.

In a study in the USA it was found that business men who worked with numbers all day long (left brain function), solved a lot of their business problems while driving home.  Upon investigation it was found that driving activates your right brain - you cannot drive a car with your left brain (you do not, for example sit and think "the car has to move 15 degrees to the North North East, and to do that the steering wheel has to turn left by 4.5 degrees, an action that means my left hand needs to lower 3/64 inches down and my right hand 3/64 inches up".   Your right brain can just see the way the car goes and adjust the wheel - all by itself.

So with both hemispheres active, solutions come more readily to mind.

Therefor, by stimulating the right brain when doing leatherwork, we make our brains whole gain.  By creating with our hands, we recharge what we lose to the rat-race and social media.
In our ever increasingly stressed lives, sanity asks that we escape as often as possible - and leatherwork is a good place to escape to.  Placing yourself in that right-brain-trance helps you become whole and repaired again.

[Written circa 1995  -  Johan Potgieter]

Sunday, August 12, 2018

New pair of Vellies

Cutting out the uppers
"Vellies" is a South African name for handmade shoes - from the days of our pioneers who first moved into the interior of South Africa.    The name is derived either from "vel", the Afrikaans for skin, or from "veld", the Afrikaans word for "away from the cities / fields / wilderness".
All the stitching is hand-done


Ready for roadtesting tomorrow!

Thursday, May 24, 2018

Making a Cigar Case

It starts with faux cigars!


Then pieces are stitched together.


The first half is soaked in water and shaped over the wooden cigars.


The second half is decorated with basketweave, dyed, and also shaped over wooden cigars as well is the inner pocket.


The result.


Friday, August 19, 2016

Pointing to my main website

I moved my domain registration to Powweb, and have a tough time getting the domain name to map to my main web site.

In the mean time, here is a shortcut:

https://sites.google.com/a/leatherbyjohan.com/leather-by-johan/


Wednesday, January 09, 2013

Border Fun

I have really liked doing the rope edge effect with the lined triangle beveler (F910).

Well, someone I am helping getting started took that and did a variation and also came up with a cool border done with a basket weave stamp!

Here is a close up - in this section the inside lines of the two swivel line cuts were beveled first with a textured beveler.

In this one no bevelling was done before the basketweave was stamped with the F910 along the lines.


Sunday, November 13, 2011

Award Commission

The requirements were specific: They wanted their logo on the belt with the same writing that they use around their logo! I warned that writing that small (1/4") with tooling is not easy - especially seeing that I had a severe time limit.

I used a swivel knife for the logo outlines, but the writing was just done with a checkered beveler only.

The holsters hold 5 Hour Energy drinks!   (In my youth as a programmer, we ran on coffee, good old fashioned cafeeinated coffee - the good old days!)

Saturday, October 29, 2011

A Ram's Horn Bag

I am reluctant to take on prototype projects, but the challenge of carving a lion was just too much!  [A lion's face does not have many swivel knive cuts and is tooling wise not easy.]  I embossed the lion face slightly, but did not leave a plug in there, so the embossing is quite subtle.


Further more, the bag is for a Ram's Horn, like in the Old Testament, but it is not one used in a Jewish community - as in a Hispanic Protestant Church.

So, as with all my projects, I did quite a few practise pieces to see how things would work.  

This paid off, because I got the best background dye around the lion's head with the new Pro Waterbased Stain!  So all the veg tan leather was dyed with this new stain.

A little gold acrylic added a bit more prominence to the lettering.

["The Lion of the Tribe of Judah"]

I decided to use the same opening as for the Huarachi pouch, as it lies flat, but the challenge came in that there was now lining and padding inside the pouch as well and the bag was also stitched inside out and turned in.

And there it is - all done!

I just put a cow horn in there to show how the horn would go into the bag opening.


Thursday, September 29, 2011

Fading Dyes

In my previous posting I made mention of the tool box colors that have faded so bad.  Here it is - a side by side comparrison:

In March 2004, this was the new box lid, done in Fiebing's spirit based dyes:-

Today, September 29, 2011, I took this picture, but the fading already occured a number of years ago....:

All the yellows and blues are gone.

In June 2004 I did this handbag, also with the Fiebings spirit based dyes  (The initials were done in Cova Color enamel acrylics):

In April 2007, after three years, the color had faded completely and the new Eco-Flo dyes had just been introduced.  I tested them on this handbag by doing one half in the new water-based dyes.  And so on May 15, 2007 I took these three photos of the 'half' restored bag:

I photographed that bag this afternoon to show how well the Eco-Flo dyes have kept its color over the last 4 years:

Wednesday, September 28, 2011

ToolBox Project

This is my first attempt at a hand-made personal toolbox - inspired by Peter Main.

Inside

lea-box-01 (17K)

I first constructed the box by gluing the four sides together and holding them in clamps. Then
I glue on the bottom and lid of the box - ending with a closed hollow box.        

The hollow box is then sawed in half - top and bottom. On the inside of the bottom sides, I glue
pieces of wood identical to those from which the sides were originally built - these serve to hold the lid in place.

The lid is of course and absolute perfect fit, because it used to be one piece with the bottom
of the box.

The next step was to plan the inside - the placement of the tools and the layers of cork that would give them
a place to lie. I embedded strong magnets into the cork and glued it down with epoxy glue.
lea-box-02 (23K)
lea-box-03 (25K)I lined this box with pre glued felt from the local woodworking store (used for lining
jewelry boxes), but never again - the adhesive is very strong and is very difficult
to work with on the uneven surface - next time I will line it with garment pigskin.
Next was the enjoyable part of the project -putting the design on the leather - here
the whole design has been carved and one half of me wanted to stop right here!
lea-box04 (16K)
lea-box05 (21K)

I begin with the zulu shields and progress to the Trevor Jones Bars at the top and bottom.

The Zulu shields are symbolic of the oldest use of leather in Africa and I just liked the design.

The Trovor Jones Bars are dedicated to a master leathercrafter in Natal, South Africa,
who made me a beautiful belt with a similar pattern on.

The elephant was just another nice design I wanted to use in any Africa setting and the Strelitzia flowers
just seemed to complete the picture.

I sometimes use a magnifying glass on a stand when I do fine dying work - I just find
it so much less stress on my eyes in artificial light.
lea-box06 (24K)
lea-box07 (34K)At long last the dying is done and the leather is glued onto the box lid.
A final scan of the finished design. 

lea-box08 (37K)

September 2011 Update:  Those Fiebings dyes faded completely and now this box is totally monochrome!  There is a seperate posting in this blog about that : Fading Dyes

 This is what that lid now looks like (Feb 2014) :


Because the leather was glued onto wood, I thought it would be a good idea to heavily coat it with neatlac - so if I were to re-color it, I would have to strip it very agressively.    This time I will definitely use the regular Eco-Flo dyes.

Wednesday, September 21, 2011

Dubbin was King

I decided to convert my few static web pages about leatherwork, into blog entries and so here is the first one:


DUBBIN

The Ultimate Leather Finish / Dressing Any Leathercrafter can Use!

I have successfully made my own Dubbin: I rendered sheep fat for the tallow (beautiful white stuff - also good for cooking and preparing cast iron cookware), and then I added Beeswax and Neatsfoot oil and a few other extras. The result is all I expected and I do not feel anxious any more about having to import my Dubbin from South Africa!

  • Etherington & Roberts says it is made of tallow and cod oil.
  •  Thelma Newman, in her book "Leather as Art and Craft" describes DUBBIN as a mixture of Tallow and Codliver Oil.

 Why I Like DUBBIN so Much! 

  • DUBBIN feeds and protects the leather from the inside and replaces all the oils taken out of the leather during the tanning process.
  • DUBBIN brings out a deep glowing color in leather. In un-dyed leather it will cause the leather to turn a golden honey color when exposed to light.
  • DUBBIN is very good for your hands - especially in winter. I always apply it by hand - it allows me to regulate exactly how much I put on.
  • DUBBIN never acentuates stains on leather - it rather tends to clean up any water or light stains.
  • DUBBIN Can be used over any non-sealing finish, such as spirit dyes and water based dyes as well as water based inks.
  • DUBBIN allows leather to become supple without loosing its shape - it helps the leather to stay "alive" and always as beautiful as new.

Answers to DUBBIN critics

  • It is sometimes said that DUBBIN rots stitching on leather articles. When applying DUBBIN you must simply make sure that you do not leave chunks of Dubbin in folds or seams of the leather - this will collect dust, trapped by the thick DUBBIN and the dust will then rot the stitching. I always polish a project that I have just applied DUBBIN to, with a soft brush - there seems to be some beeswax in DUBBIN that will cause the leather to have a natural shine when treated like this.