Thursday, September 29, 2011

Fading Dyes

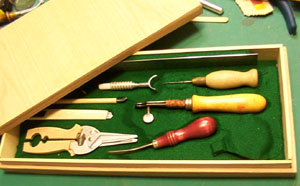
In my previous posting I made mention of the tool box colors that have faded so bad.  Here it is - a side by side comparrison:

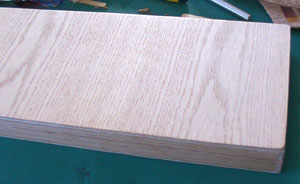
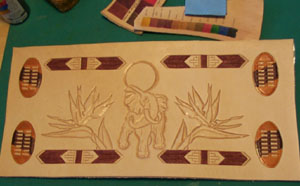
In March 2004, this was the new box lid, done in Fiebing's spirit based dyes:-

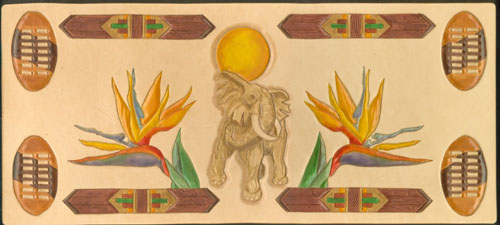
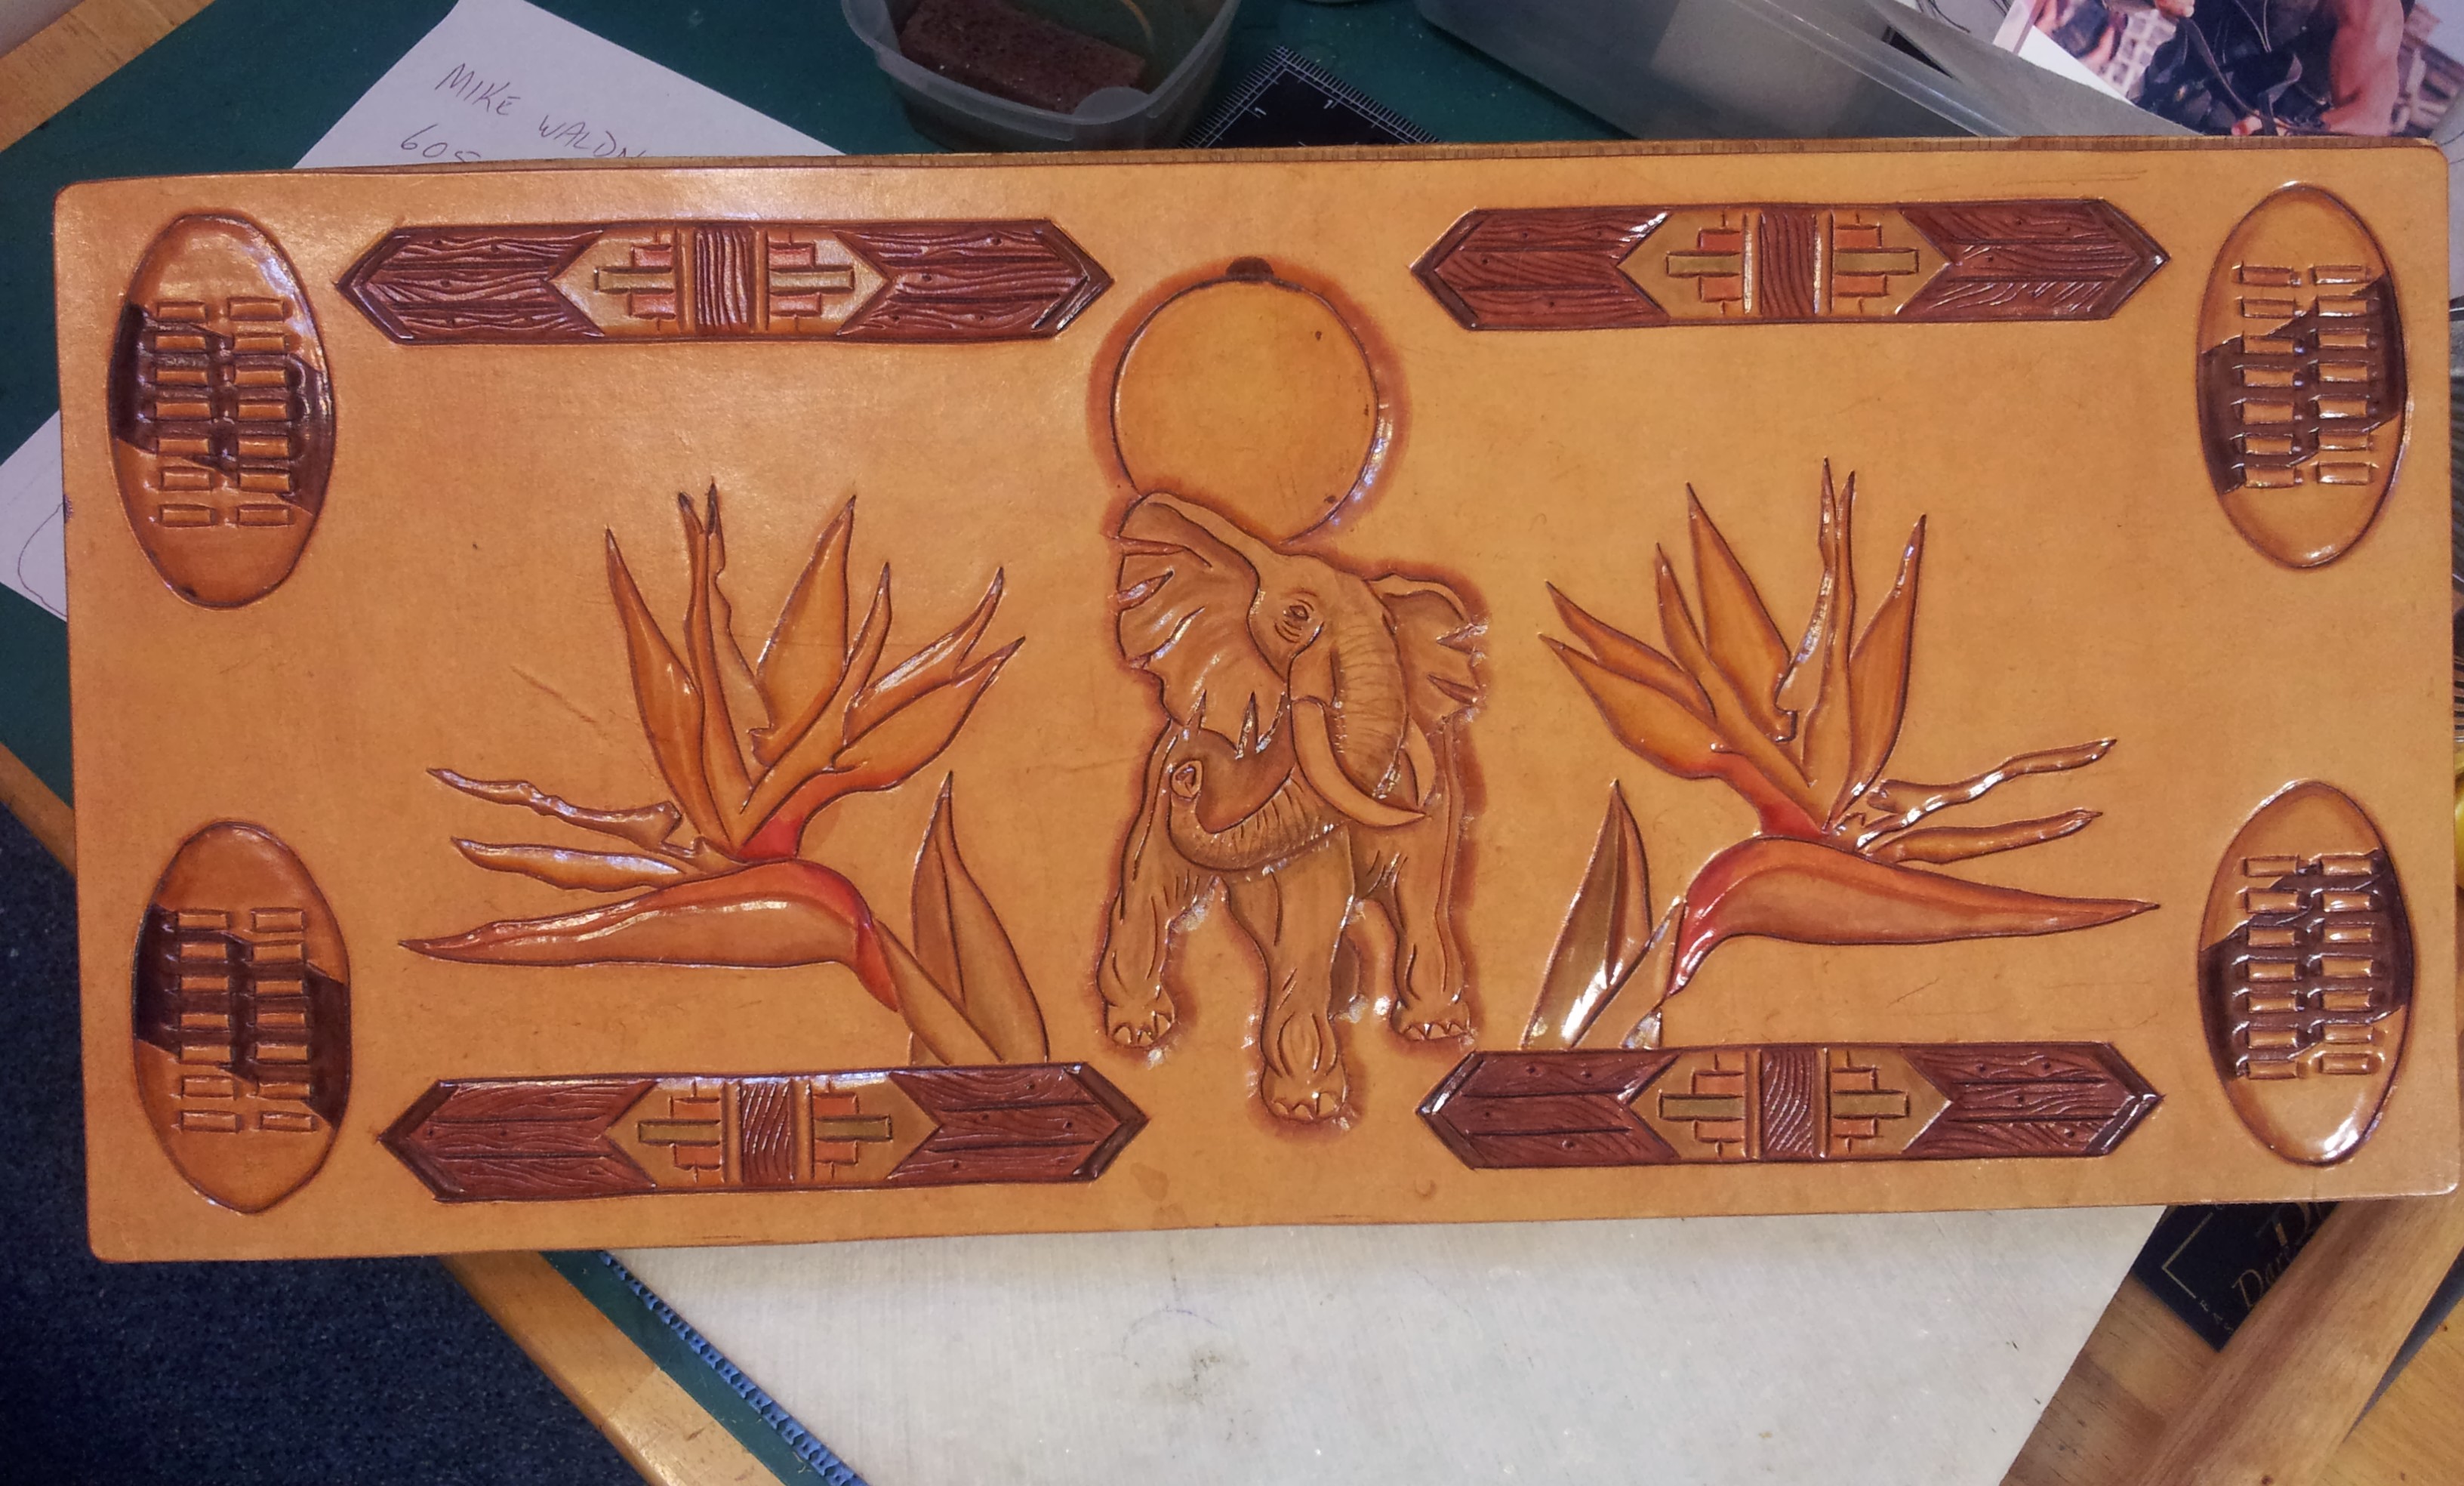
Today, September 29, 2011, I took this picture, but the fading already occured a number of years ago....:

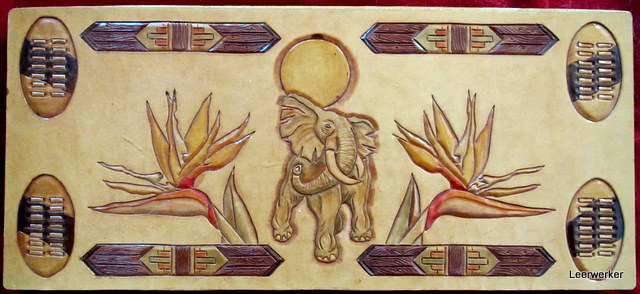
All the yellows and blues are gone.

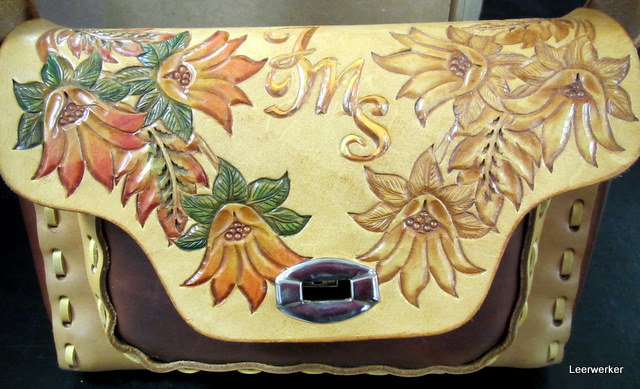
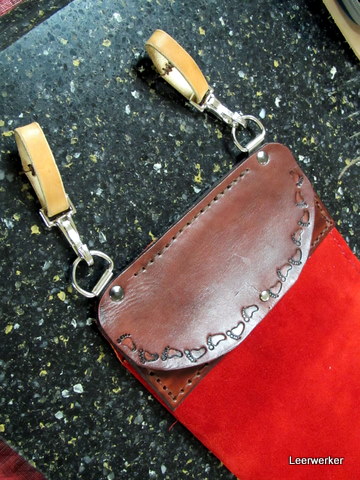
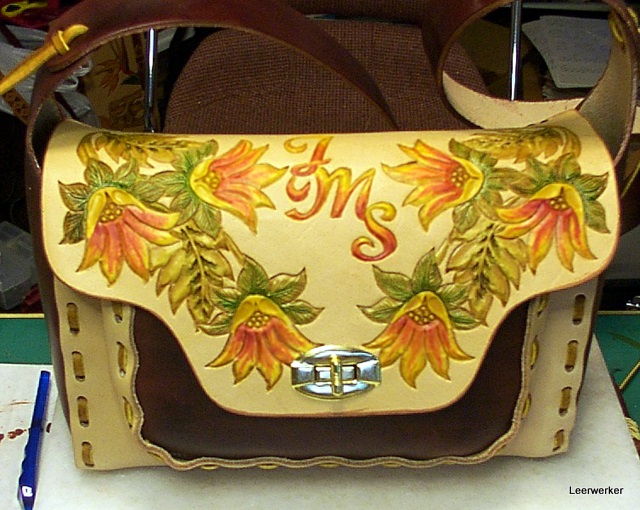
In June 2004 I did this handbag, also with the Fiebings spirit based dyes  (The initials were done in Cova Color enamel acrylics):

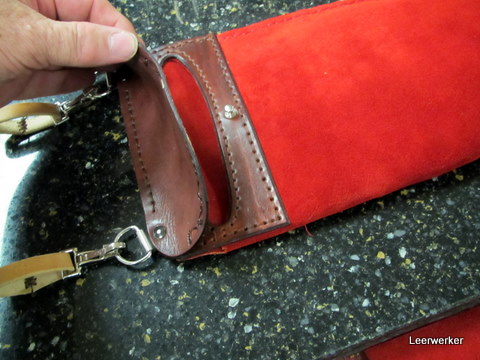
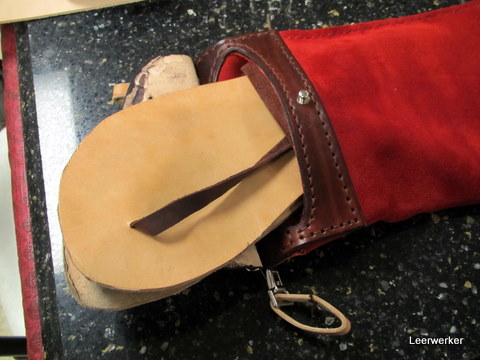
In April 2007, after three years, the color had faded completely and the new Eco-Flo dyes had just been introduced.  I tested them on this handbag by doing one half in the new water-based dyes.  And so on May 15, 2007 I took these three photos of the 'half' restored bag:

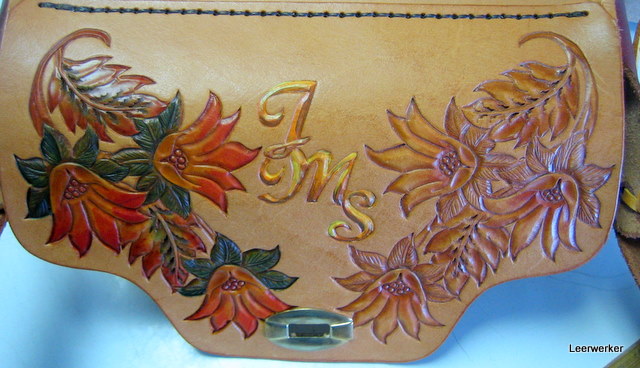
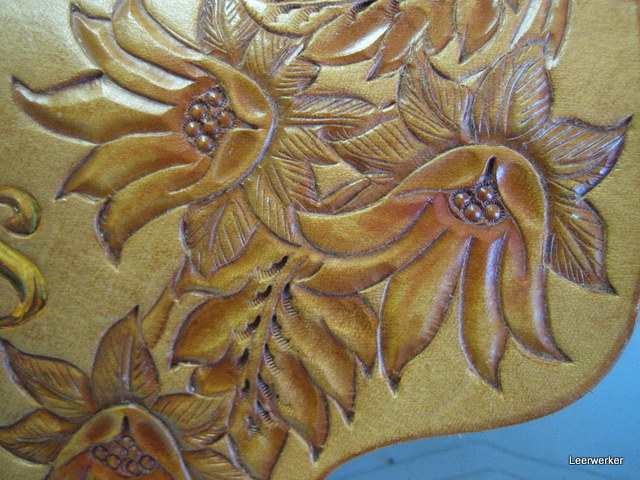
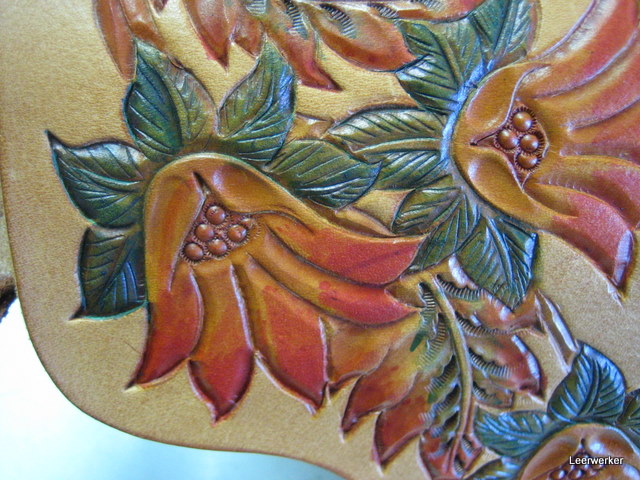
I photographed that bag this afternoon to show how well the Eco-Flo dyes have kept its color over the last 4 years:

Wednesday, September 28, 2011

ToolBox Project

This is my first attempt at a hand-made personal toolbox - inspired by Peter Main.

Inside

lea-box-01 (17K)

I first constructed the box by gluing the four sides together and holding them in clamps. Then
I glue on the bottom and lid of the box - ending with a closed hollow box.        

The hollow box is then sawed in half - top and bottom. On the inside of the bottom sides, I glue
pieces of wood identical to those from which the sides were originally built - these serve to hold the lid in place.

The lid is of course and absolute perfect fit, because it used to be one piece with the bottom
of the box.

The next step was to plan the inside - the placement of the tools and the layers of cork that would give them
a place to lie. I embedded strong magnets into the cork and glued it down with epoxy glue.
lea-box-02 (23K)
lea-box-03 (25K)I lined this box with pre glued felt from the local woodworking store (used for lining
jewelry boxes), but never again - the adhesive is very strong and is very difficult
to work with on the uneven surface - next time I will line it with garment pigskin.
Next was the enjoyable part of the project -putting the design on the leather - here
the whole design has been carved and one half of me wanted to stop right here!
lea-box04 (16K)
lea-box05 (21K)

I begin with the zulu shields and progress to the Trevor Jones Bars at the top and bottom.

The Zulu shields are symbolic of the oldest use of leather in Africa and I just liked the design.

The Trovor Jones Bars are dedicated to a master leathercrafter in Natal, South Africa,
who made me a beautiful belt with a similar pattern on.

The elephant was just another nice design I wanted to use in any Africa setting and the Strelitzia flowers
just seemed to complete the picture.

I sometimes use a magnifying glass on a stand when I do fine dying work - I just find
it so much less stress on my eyes in artificial light.
lea-box06 (24K)
lea-box07 (34K)At long last the dying is done and the leather is glued onto the box lid.
A final scan of the finished design. 

lea-box08 (37K)

September 2011 Update:  Those Fiebings dyes faded completely and now this box is totally monochrome!  There is a seperate posting in this blog about that : Fading Dyes

 This is what that lid now looks like (Feb 2014) :


Because the leather was glued onto wood, I thought it would be a good idea to heavily coat it with neatlac - so if I were to re-color it, I would have to strip it very agressively.    This time I will definitely use the regular Eco-Flo dyes.

Wednesday, September 21, 2011

Dubbin was King

I decided to convert my few static web pages about leatherwork, into blog entries and so here is the first one:


DUBBIN

The Ultimate Leather Finish / Dressing Any Leathercrafter can Use!

I have successfully made my own Dubbin: I rendered sheep fat for the tallow (beautiful white stuff - also good for cooking and preparing cast iron cookware), and then I added Beeswax and Neatsfoot oil and a few other extras. The result is all I expected and I do not feel anxious any more about having to import my Dubbin from South Africa!

  • Etherington & Roberts says it is made of tallow and cod oil.
  •  Thelma Newman, in her book "Leather as Art and Craft" describes DUBBIN as a mixture of Tallow and Codliver Oil.

 Why I Like DUBBIN so Much! 

  • DUBBIN feeds and protects the leather from the inside and replaces all the oils taken out of the leather during the tanning process.
  • DUBBIN brings out a deep glowing color in leather. In un-dyed leather it will cause the leather to turn a golden honey color when exposed to light.
  • DUBBIN is very good for your hands - especially in winter. I always apply it by hand - it allows me to regulate exactly how much I put on.
  • DUBBIN never acentuates stains on leather - it rather tends to clean up any water or light stains.
  • DUBBIN Can be used over any non-sealing finish, such as spirit dyes and water based dyes as well as water based inks.
  • DUBBIN allows leather to become supple without loosing its shape - it helps the leather to stay "alive" and always as beautiful as new.

Answers to DUBBIN critics

  • It is sometimes said that DUBBIN rots stitching on leather articles. When applying DUBBIN you must simply make sure that you do not leave chunks of Dubbin in folds or seams of the leather - this will collect dust, trapped by the thick DUBBIN and the dust will then rot the stitching. I always polish a project that I have just applied DUBBIN to, with a soft brush - there seems to be some beeswax in DUBBIN that will cause the leather to have a natural shine when treated like this.

Monday, September 12, 2011

Huarache Pouch

Two postings ago I showed the Huarache sandles I made.   Well, on a recent barefoot hike I realized it would be nice to have my huaraches with me when the going gets tough....   But, I want to carry as little as possible.  So I am going to try this pouch that will hang from a belt.

The construction took some carefull planning - I wanted the pouch to be quite flat and so sewing in the veg tan 'mouth' of the pouch was done in stages, first attaching it to the front, then closing the body of the bag and then stitching the back of the mouth to the back of the bag.  Lastly the flap was sewn on and the two d-rings riveted in.

In the photo above, my huaraches are actualy in the pouchand it stays quite flat.

Here is my huaraches peeking out: