Sunday, May 29, 2011

Swivel Knife Cuts

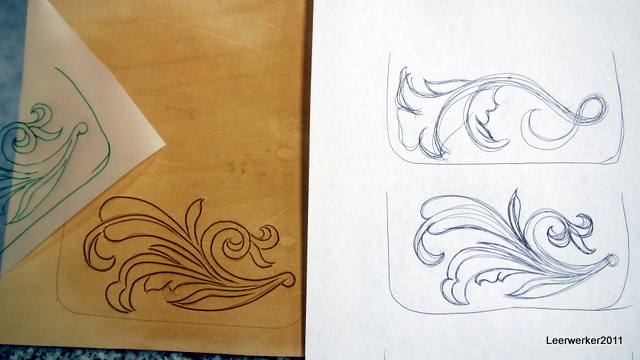
I have been practising my swivel knife work.   I do not like decorative cuts on floral carving, but I really like cuts just to decorate the leather without any tooling involved.  This piece was some leather lying around where I had illustrated to someone the difference embossing can make to a frame, here a frame made by swivel knife cuts.  The immitation wood on the right was just bevelled and cut on flat leather, while the frame on the left also had a plug behind it to give a more 3-D look to the frame.     

This left enough open leather for swivel knife cut exercises.

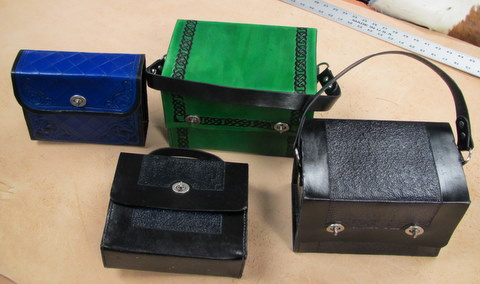
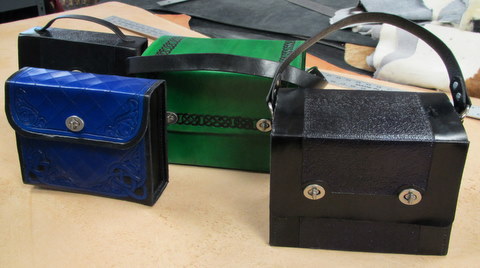
Next month the guild is going to have a fun share project of covering cans in leather, so I decided to get the first two leather 'jackets' ready for two small cans.

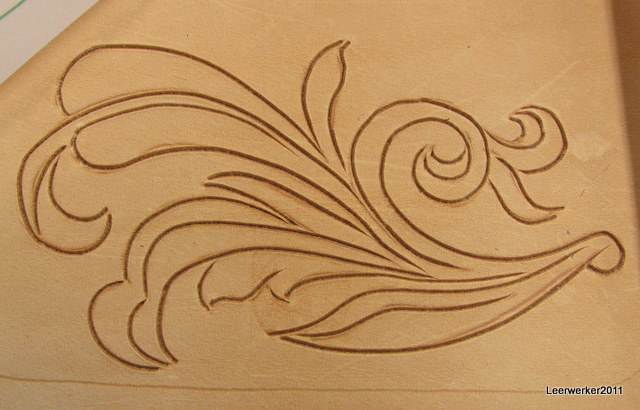
The one at the top of this picture will just be swivel knife cuts, inspired by Jim Linnell.   My rope effect will form a border at the top of the can.

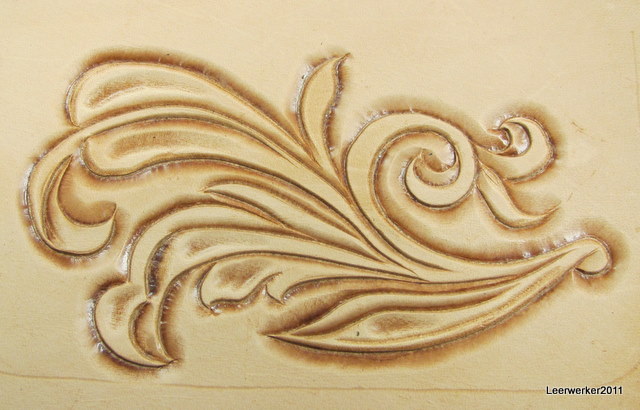
In the second design, I decided to explore the possibility of slightly beveling the basic decorative swivel knife cuts.   It appears on this photo at the top.

Here is a bit more of a close-up.

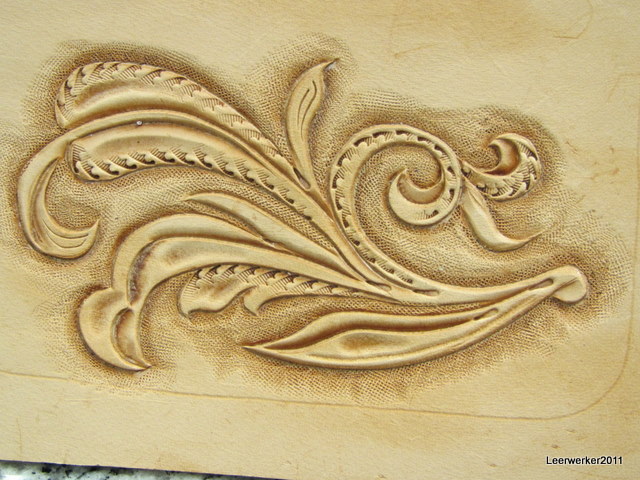
...and even more detail to show you how I just let the beveling fade to nothing so that the design did not lose its light clean feeling.

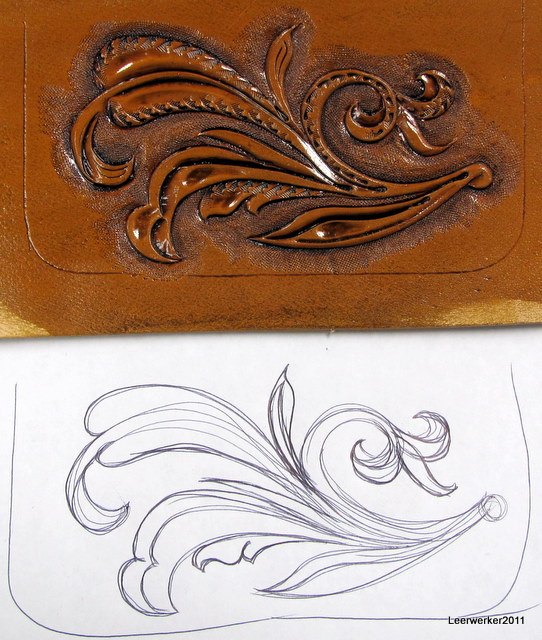
Finally I decided to fill in a but just with knife cuts and I think it worked....

More on the covered can project later!

Tool Boxes

Not since Peter Main's toybox have I seen nice tool boxes like these!

Made by Jason Rolfstad.
They are made of a nice thick leather with formed gussets, so they are nice and sturdy, ever before the insides are installed.


The neat simple decoration add a lot to their appeal.


The narrower toolbox with all the hand sewing supplies, has leather dividers glued into place to keep everything neat.


To keep the end-punches neat, Jason layered pieces of cut leather in such a way that where they had slots in them, they would form holes where the tool handles would fit into.


I have been inspired - now I must just find the time!

Friday, May 27, 2011

New Design - A Timeline

A friend liked the cell phone case I tooled for my smartphone and wanted to see it, but I did not like the design too much - so I decided to come up with my own design.  It took a few doodles before it took shape in my mind and on paper and on the right hand you can see the final design on paper with the tracing film and leather with swivel knife cuts on the left.

As soon as I took the first photo, I decided to use the timestamp on the digital camera to record how long this little project took me to complete.  So to reach the stage above and below, probably about 45 minutes.

39 minutes later and I had the basic beveling done, as seen below.  (Total 84 minutes)

34 more minutes got the extra few decorative stamps and the backgrounding done.  (Total 118 minutes)

Another 30 minutes (without drying time) was used to apply Eco Flo Highliter and spray with Supersheen.  (Total 148 minutes = 2 hours 28 minutes)


email me if you want a copy of the pattern : leatherworker at gmail.com